Working with USB through IOKit on a jailbroken iOS 📱
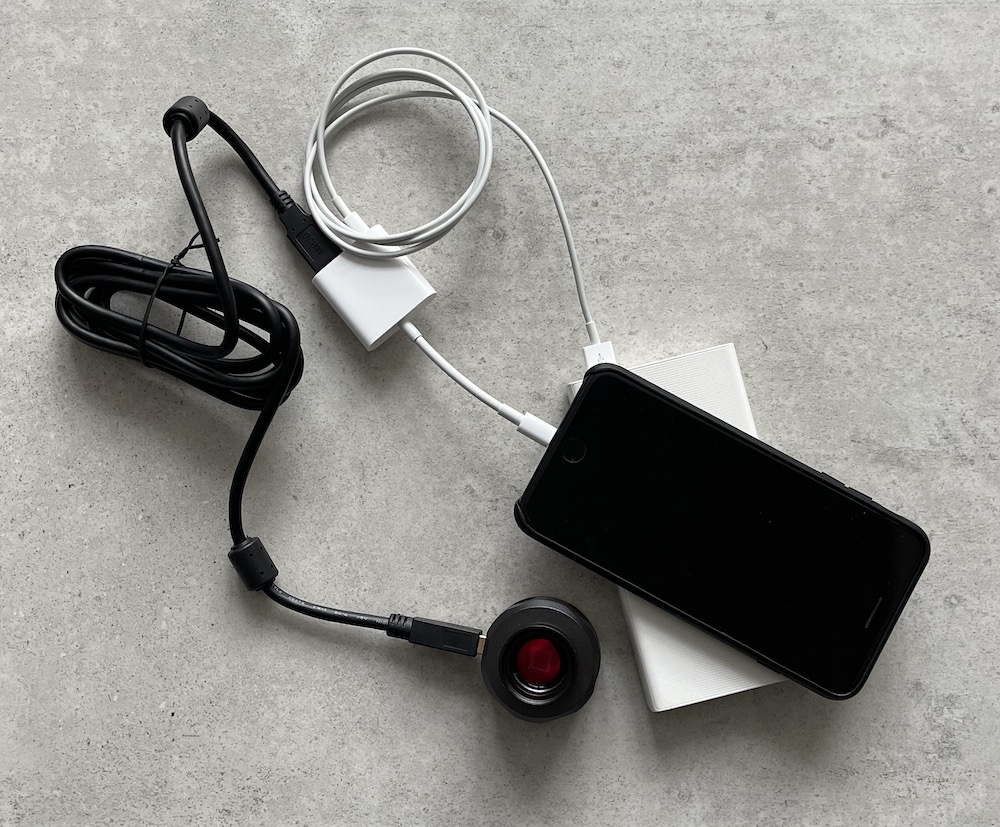
Some time ago, as part of a new hobby, I bought a telescope 🔭 (Newtonian reflector), and some additional eyepieces… and filters… and a motor drive for the mount… and an astronomy USB camera 😬. Hey, you need all this stuff, seriously! For the whole setup to be more or less portable, I needed something to capture the pictures (or have a simple live view) other than a laptop. iPhone is a great choice! Unfortunately, it’s not possible to connect any arbitrary USB device without a special MFI chip. But that is not a problem if you have a jailbroken device. Luckily I have a couple 😅.
IOKit, libuvc, libusb
IOKit is a very powerful mechanism that macOS and iOS devices use to talk with all the peripherals (not only USB). On macOS it’s available through the framework of the same name. On iOS the IOKit framework is available, but the headers are missing from the iOS SDK in Xcode, but that can easily be fixed by copying them from the macOS SDK (with a couple of fixes).
So the plan was to use IOKit. Unfortunately, on iOS, Apple locked down the necessary APIs, and special entitlements are required to use them. That’s why I went with a jailbroken device where we can fake-sign the app with any entitlements that we want.
It’s possible to use plain IOKit and communicate with a USB camera, but this will require writing the whole device driver myself. I did not have the time and desire to do so. So the solution was to use some existing third-party code.
One of such drivers is libuvc. Basically, this library implements a generic driver for all the devices that support USB Video Class (UVC) interface. Also, it’s built on top of libusb. libusb - is an abstraction library over all the USB APIs on different platforms - Linux, macOS (IOKit), Windows, and more.
Also, libuvc depends on libjpeg - C library for working with JPEG images.
The whole dependency graph looks like this:
        ┌─────────┐
     ┌──│ libUVC  │──┐
     │  └─────────┘  │
     ▼               ▼
┌─────────┐     ┌─────────┐
│ libUSB  │     │ libJPEG │
└─────────┘     └─────────┘
     │
     ▼
┌─────────┐
│  IOKit  │
└─────────┘
So the plan is simple:
- Patch Xcode, to be able to build
libusb(which usesIOKit) for iOS. - Build
libusb. - Build
libjpeg. - Build
libuvcusing all of the above. - Write an app that uses
libuvcto talk with a camera. - ?????
- PROFIT!
Patching Xcode
Latest Xcode version available at the time of writing is 13.2 (13C90).
Declare IOS_SDK and MACOSX_SDK environment variables to make things prettier:
mbp:~ export IOS_SDK=/Applications/Xcode.app/Contents/Developer/Platforms/iPhoneOS.platform/Developer/SDKs/iPhoneOS.sdk

mbp:~ export MACOSX_SDK=/Applications/Xcode.app/Contents/Developer/Platforms/MacOSX.platform/Developer/SDKs/MacOSX.sdk
Copy headers from macOS SDK:
mbp:~ sudo cp -r $MACOSX_SDK/System/Library/Frameworks/IOKit.framework/Headers/ \
    $IOS_SDK/System/Library/Frameworks/IOKit.framework/Headers/

mbp:~ sudo cp $MACOSX_SDK/usr/include/libkern/OSTypes.h \
    $IOS_SDK/usr/include/libkern/
I remember playing around with IOKit on iOS 9, and there was one fix I needed to do to be able to iterate over available devices. The fix was to change kIOUSBDeviceClassName definition from IOUSBDevice to IOUSBHostDevice in this header:
$IOS_SDK/System/Library/Frameworks/IOKit.framework/Headers/usb/IOUSBLib.h:4654
Or by patching libusb directly (as for know libusb 1.0.24 hardcodes IOUSBDevice instead using kIOUSBDeviceClassName from the IOKit header, related commit):
libusb/libusb/os/darwin_usb.c:70
But it looks like it’s no longer needed as macOS migrated to use IOUSBHostDevice as a base class for USB devices, and now two can be used interchangeably and outputs almost? the same results (and apparently iOS uses the same code). But I’m not totally sure about this.
Building libusb
I’ll be building all the dependencies as the static libraries to make things easier.
Before building libusb we need to specify some compiler flags:
mbp:~ export CFLAGS="-isysroot $IOS_SDK -arch arm64 -miphoneos-version-min=9.0"
After that building libusb is as simple as running:
# downlaod and extract
mbp:~ wget https://github.com/libusb/libusb/archive/refs/tags/v1.0.24.tar.gz
mbp:~ tar xzvf libusb-1.0.24.tar.gz
mbp:~ mv libusb-1.0.24/ libusb/
mbp:~ cd libusb/
# build
mbp:~ ./bootstrap.sh
mbp:~ ./configure --host=arm64-apple-darwin
mbp:~ make
# results
mbp:~ lipo -info libusb/.libs/libusb-1.0.a
Non-fat file: libusb/.libs/libusb-1.0.a is architecture: arm64
Building libjpeg
Same as the above:
# downlaod and extract
mbp:~ wget http://www.ijg.org/files/jpegsrc.v9e.tar.gz
mbp:~ tar xzvf jpegsrc.v9e.tar.gz
mbp:~ mv jpeg-9e/ libjpeg/
mbp:~ cd libjpeg/
# build
mbp:~ ./configure --host=arm64-apple-darwin
mbp:~ make
# results
mbp:~ lipo -info .libs/libjpeg.a
Non-fat file: .libs/libjpeg.a is architecture: arm64
Building libuvc
This one is a little bit trickier. This lib uses CMake for the build purposes, and the build script doesn’t allow to cross-compile for arm64 and has a hardcoded location for a library search path (/usr/local/bin). I’m not very good at CMake, so I’ve used ios.toolchain.cmake by @leetal to generate Xcode project and fix those by hands.
# download build toolchain
mbp:~ wget https://github.com/leetal/ios-cmake/blob/master/ios.toolchain.cmake
# downlaod and extract
mbp:~ wget https://github.com/libuvc/libuvc/archive/refs/tags/v0.0.6.tar.gz
mbp:~ tar xzvf libuvc-0.0.6.tar.gz
mbp:~ mv libuvc-0.0.6/ libuvc/
mbp:~ cd libuvc/
mbp:~ mkdir build && cd build/
mbp:~ cmake .. -G Xcode -DCMAKE_TOOLCHAIN_FILE=../../ios.toolchain.cmake -DPLATFORM=OS
The results will be a libuvc.xcodeproj Xcode project. Which we can open, edit HEADER_SEARCH_PATHS , LIBRARY_SEARCH_PATHS, OTHER_LDFLAGS with the libraries from the above and build the thing.
mbp:~ lipo -info build/Debug-iphoneos/libuvc.a
Non-fat file: build/Debug-iphoneos/libuvc.a is architecture: arm64
Also, I’ve compiled all the libraries for macOS, so I can make a demo app for the Mac and debug the code on it because doing so on a jailbroken iOS with faked code signature would be a pain (not sure it’s even possible in Xcode).
mbp:~ tree
libs
├── ios
│   ├── libjpeg.a
│   ├── libusb-1.0.a
│   └── libuvc.a
└── macos
    ├── libjpeg.a
    ├── libusb-1.0.a
    └── libuvc.a
LiveView - the app
With all of the compiled libraries in hands, I wrote a very simple app to capture the photos, it re-use code form example.c (that comes with libuvc) and works like this:
- Initialize UVC context.
- Find a compatible device.
- Open the device.
- Find format descriptor of type
UVC_VS_FORMAT_UNCOMPRESSED. - List all available frame descriptors for the format.
- Select default frame descriptor (or
640x480 @ 30fpsif none). - Register callback and start streaming.
- Convert raw RGB data (received from the callback) to
[NS/UI]Imageand display it.
Also, there are four buttons on the iOS app’s UI: re-connect device, show/hide logs, change frame description (resolution and fps) and save an image to the photo library.
All the sources and pre-built .deb package are available on Github - LiveView.
Entitlemets
To be able to talk with devices using IOKit the app requires next entitlements:
<dict>
    <key>com.apple.security.exception.iokit-user-client-class</key>
    <array>
        <string>AppleUSBHostDeviceUserClient</string>
        <string>AppleUSBHostInterfaceUserClient</string>
    </array>
    <key>com.apple.system.diagnostics.iokit-properties</key>
    <true/>
</dict>
Install
To simplify the installation process, I generate a .deb package and install it over ssh on each build. This step is added as a Run Script into the iOS app target’s Build Phases in Xcode.
Hardware and limitations
To use a USB camera, you will need a Lightning to USB 3 Camera Adapter which supports external power. Using any other adapter without an external power source won’t work, and the device will alert you with - The connected device requires too much power message. iPhone can only handle accessories that consume 100mAh or less (according to the Internet).
Also, because iPhone USB controller is still USB 2.0, the fps I get from the camera (that supports USB 3.0) differs from that on the Mac. Here is a short comparison:
      Mac          vs        iPhone
3264x2448 @ 15fps      3264x2448 @ 2fps
2592x1944 @ 15fps      2592x1944 @ 2fps
1920x1080 @ 30fps      1920x1080 @ 5fps
1600x1200 @ 30fps      1600x1200 @ 5fps
 1280x720 @ 30fps       1280x720 @ 8fps
  960x540 @ 30fps        960x540 @ 8fps
  848x480 @ 30fps        848x480 @ 15fps
  640x480 @ 30fps        640x480 @ 30fps
  640x360 @ 30fps        640x360 @ 30fps
  424x240 @ 30fps        424x240 @ 30fps
  320x240 @ 30fps        320x240 @ 30fps
  320x180 @ 30fps        320x180 @ 30fps
My setup looks like this:
iPhone 7 Plus iOS 14.2 + Svbony SV205 camera

And a small video demo of the setup in work.
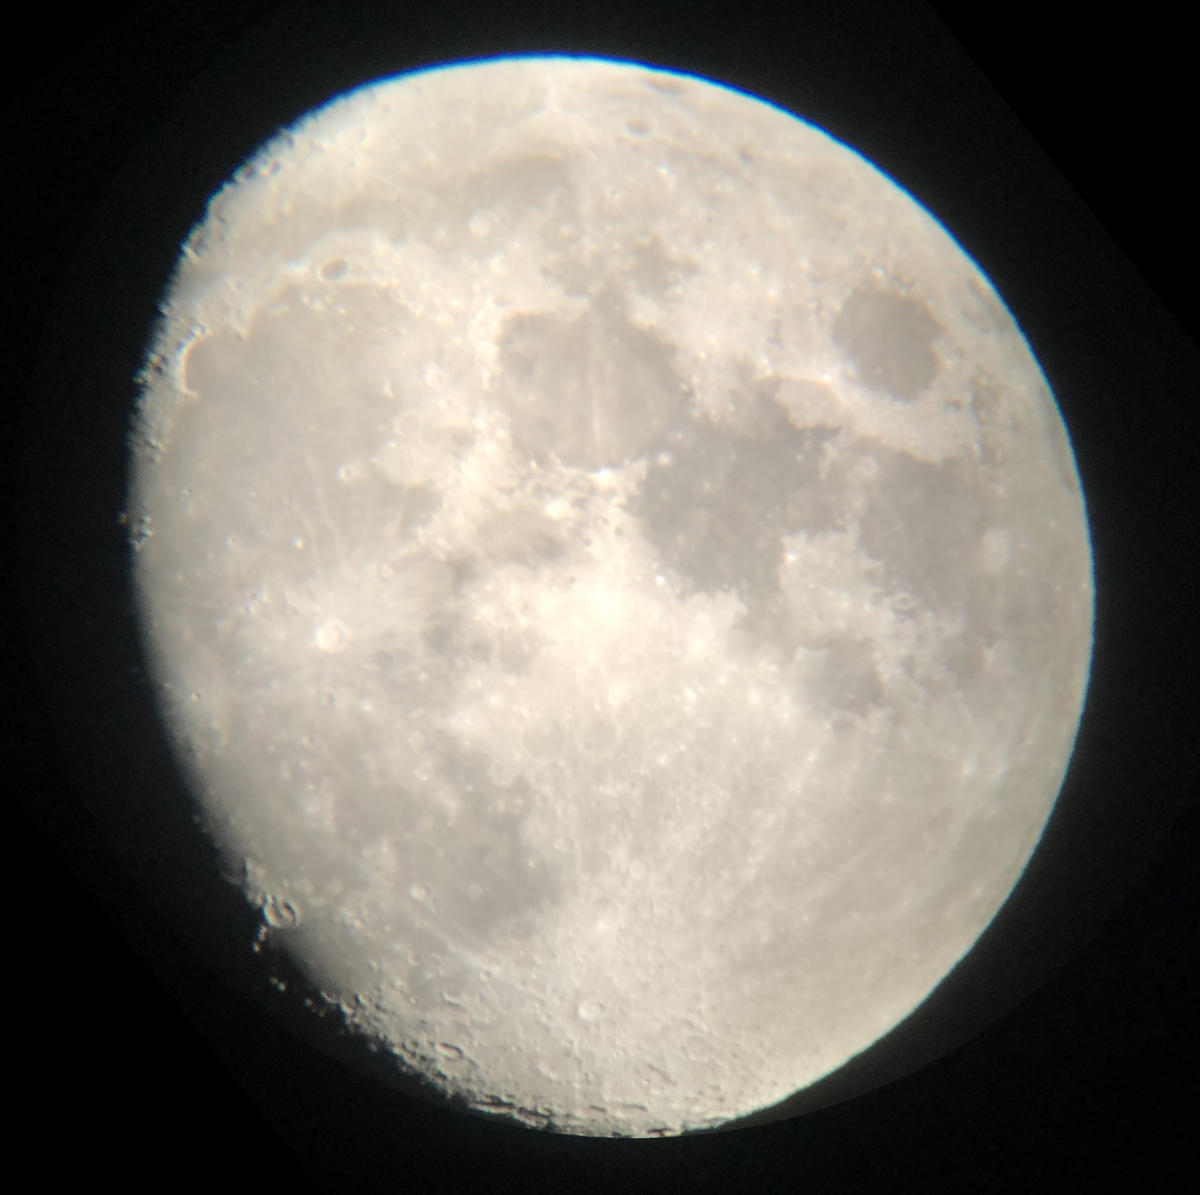
Unfortunately, due to too large focal length and, as a result - too big magnification, the Moon doesn’t fit fully into the camera sensor.
Shot on iPhone™ 😂
And because I really need a nice photo of the Moon in this post, but the weather sucks this time of the year, here is a picture I took last summer directly through the eyepiece.

Afterthoughts
After all of this, now I think it would be simpler just to buy a cheap Android device, as Android has built-in support for the UVC devices and have a public API to work with it.
With the release of macOS Catalina (10.15) Apple introduced a new framework - DriverKit. It’s built on top of IOKit and focused solely on building user-space drivers for various devices. Hopefully, one day Apple will extend this framework to iOS, and all those shiny USB-C/Thunderbolt iPads really can become all-purpose computers with the ability to connect any peripherals to them and provide drivers alongside our 3rd party apps.
Links
- LiveView on GitHub
- NXBoot - a cool project that implements simple user-space driver using only IOKit APIs.
- Introduction to I/O Kit Fundamentals
- iokit-utils by @Siguza
- CMake toolchain for iOS
